What is SMS autofill?
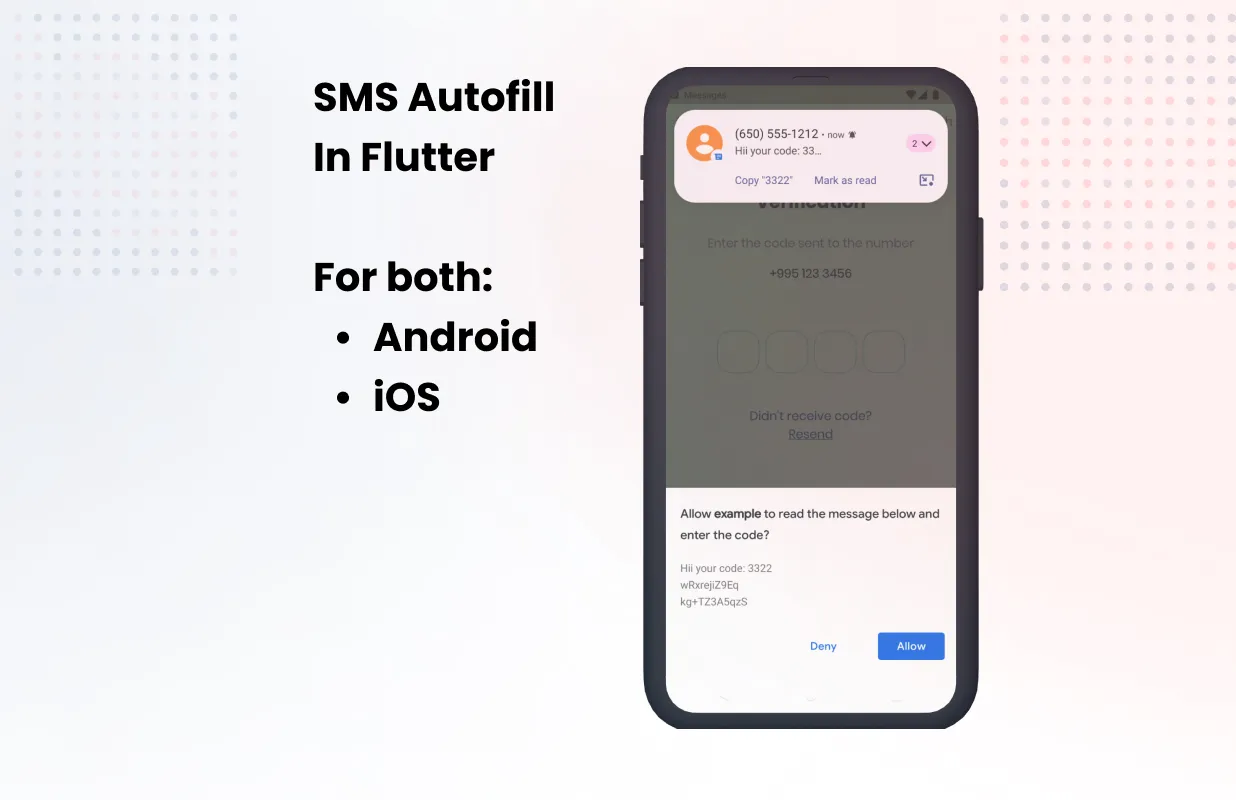
SMS autofill is a feature that allows users to autofill OTP codes sent via SMS. This feature is available on both Android and iOS.
How to use SMS autofill in Flutter?
iOS
SMS autofill works out of the box on iOS. You don’t need to do anything to enable it.
Just create a TextField and set the autofillHints property to AutofillHints.oneTimeCode.
TextField(
  autofillHints: const [
    AutofillHints.oneTimeCode,
  ],
);
The only thing you need to do is to send an SMS in the format that iOS expects.
Apple isn’t very clear about the format, but it seems that the message should:
- Numeric Code Format: The OTP itself should be a numeric code (typically 4-6 digits) that can be easily recognized by the system.
- Positioning: The numeric code should be placed prominently in the message, preferably at the beginning or right after a clear indicator that it is a code.
- Clear Indicator: Use clear and consistent terminology to indicate that the numeric code is an OTP. For example, words like “code,” “OTP,” or “verification code” should be used.
- Avoid Special Characters: Special characters and emojis should be avoided around the numeric code as they might interfere with the autofill detection.
- Language and Spelling: Some languages might not be supported, so it’s better to use English.
Example:
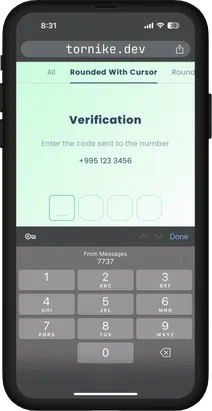
Your verification code is 123456Tu código de verificación es 123456The result:

Android
On Android we have two options to enable SMS autofill:
For both options, you need use native SDK, hopefully, there are plugins available for Flutter that make it easier to use these APIs. One of them is smart_auth. So let’s see how to use it.
Let’s start with the boring part
- Add the plugin to your Flutter project:
flutter pub add smart_auth- Then, import the plugin in your Dart code:
import 'package:smart_auth/smart_auth.dart';- Create an instance of SmartAuth
final smartAuth = SmartAuth.instance;Now the fun part, as I mentioned earlier, we have two options to enable SMS autofill on Android.
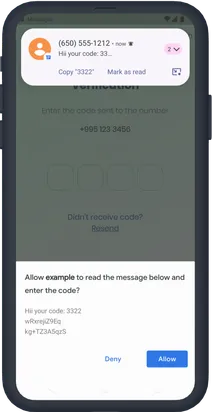
The User Consent API is the easiest way to enable SMS autofill in your app.
Implement the getSmsCode method:
void getSmsCode() async {
  final res = await smartAuth.getSmsWithUserConsentApi();
  if (res.hasData) {
    final code = res.requireData.code;

    /// The code can be null if the SMS was received but the code was not extracted from it
    if (code == null) return;
    //  Use the code
  } else if (res.isCanceled) {
    // User canceled the dialog
  } else {
    // handle the error
  }
}

@override
void dispose() {
  smartAuth.removeUserConsentApiListener();
  super.dispose();
}
Note, that the SMS format is't really clear for Android as well so it's better to use the same format as for iOS
The result:

The SMS Retriever API is a bit more complex, but it’s easiest for the user.
Firstly, we need to get the App signature, you can use the following code to get it:
void getAppSignature() async {
  final res = await smartAuth.getAppSignature();
  debugPrint('Signature: $res');
}
Note that the signature is different for debug and release builds, so you need to run this code in release mode or use this guide
Then, the SMS you send should be in the following format:
Your verification code is: 123456
kg+TZ3A5qzS
Note that, the last line is the App signature
Now, let’s implement the getSmsCode method:
void getSmsCode() async {
  final res = await smartAuth.getSmsWithRetrieverApi();
  if (res.hasData) {
    // The code can be null if the SMS was received but the code was not extracted from it
    if (code == null) return;
    // Use the code to fill the TextField or do whatever you want
  } else {
    // handle the error
  }
}

@override
void dispose() {
  smartAuth.removeSmsRetrieverApiListener();
  super.dispose();
}
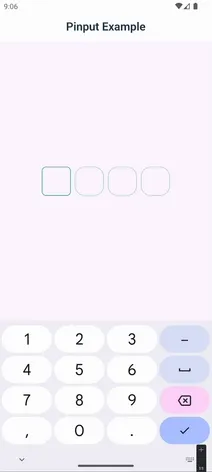
The result:

That’s it! Now you can autofill OTP codes in your Flutter app on both Android and iOS.

